
Linuxサーバーを構築したときや、Linuxサーバーでトラブルが発生した際に、その時点の設定やシステム情報、診断情報を収集したいときってありますよね。でも、設定ファイルやログを一つ一つ手動で収集するのは面倒です。
そこでおすすめなのが、ログや設定ファイルを一括で収集してくれるコマンド「sosreport」で、ログファイルや設定ファイルなどシステムの状態を把握するための情報を一括して取得することができます。
取得した情報は、構築エビデンスとして保存したり、トラブル時の解析などで活用できます。(Red Hat Enterprise Linuxなどでは、サポートへ問い合わせたときに「sosreport」の実行を依頼されることもあるようです。)
そこでここではRedHat互換のAlmaLinuxを例に、sosreportをインストールして実行する方法や、収集した情報の確認方法を紹介します。
目次
sosreportの使い方
sosreportをインストールする
sosreportのインストールは、sosreportコマンドが含まれるsosパッケージをインストールします。
# dnf install sos設定ファイルとログを収集する
インストールしたら以下のコマンドを実行し、設定ファイルとログファイルを収集してみます。
「Press ENTER to continue, or CTRL-C to quit.」と表示されるので、そのまま[Enter]キーを押します。
# sos report
sosreport (version 4.7.0)

This command will collect diagnostic and configuration information from
this AlmaLinux system and installed applications.

An archive containing the collected information will be generated in
/var/tmp/sos.ve5fez1u and may be provided to a AlmaLinux OS Foundation
support representative.

Any information provided to AlmaLinux OS Foundation will be treated in
accordance with the published support policies at:

        Distribution Website : https://www.almalinux.org/
        Commercial Support   : https://tuxcare.com/linux-support-
services/

The generated archive may contain data considered sensitive and its
content should be reviewed by the originating organization before being
passed to any third party.

No changes will be made to system configuration.

Press ENTER to continue, or CTRL-C to quit.
「Optionally, Please enter the case id that you are generating this report for []: 」と表示され、ケースナンバーを入力できますが、そのまま[Enter]キーを押します。
処理が始まりしばらくすると、次のように収集された設定ファイルとログファイルがアーカイブされた旨のメッセージが表示されます。
Your sosreport has been generated and saved in:
        /var/tmp/sosreport-file-server-2024-06-13-yaezhrm.tar.xz

 Size   11.30MiB
 Owner  root
 sha256 cc9985f54821c6155f14b0750046054f41061a777dc9b79ca5a3ecc62e6a43de

Please send this file to your support representative.
以上で収集完了です。
収集ファイルを確認する
上で「/var/tmp」に生成された「sosreport-mysv.local-20180326020344.tar.xz」をtarコマンドで展開します。
# cd /var/tmp
# tar xJvf sosreport-file-server-2024-06-13-yaezhrm.tar.xz
展開したアーカイブファイルの中には、収集されたログファイルや設定ファイル、コマンドの実行結果がディレクトリに整理され保存されています。
# ls -F
boot/       environment  installed-rpms@  lib@    netstat@  root/           sos_logs/     uptime@      vgdisplay@
date@       etc/         ip_addr@         lsmod@  proc/     root-symlinks@  sos_reports/  usr/
df@         free@        ip_route@        lsof@   ps@       run/            sys/          var/
dmidecode@  hostname@    last@            mount@  pstree@   sos_commands/   uname@        version.txt
収集ファイルをブラウザで確認する
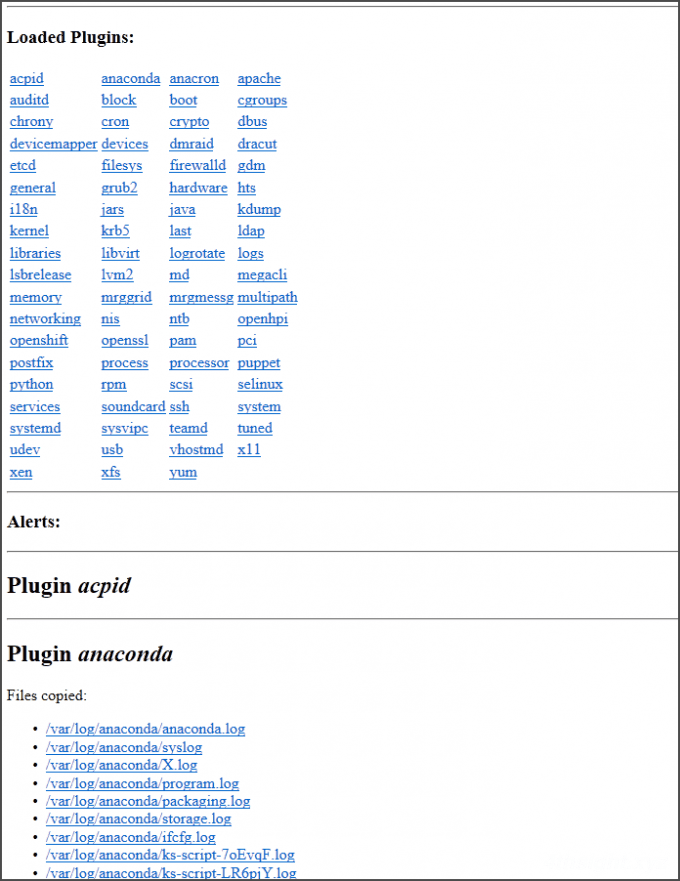
sosreportコマンドで収集されたログファイル・設定ファイル・コマンド実行結果の一覧は、展開した「sos_reports」ディレクトリに「sos.html」として保存されています。
上で生成されたxzファイルをWindowsマシンで展開し、ブラウザで確認することもできます。
あとがき
普段Windowsをメインに使っている身としては、ブラウザで直感的に操作して確認できるのはありがたいです。
参考
Red Hat Enterprise Linux 上での sosreport の役割と生成方法 - Red Hat Customer Portal